Adding Trigger and Action Steps
Adding trigger or action steps to your workflow follows the same process as adding any other step:- Click the step add button in the toolbar or drag a connection from an existing step
- Search for the specific trigger or action step you need
- Alternatively, explore the Integrations section in the modal and select your desired service provider
- Choose the specific trigger or action from the available options
Understanding Trigger and Action Step Structure
Trigger and action steps are sourced from integrations, with each integration offering its own set of triggers and actions. For example, Slack integration provides triggers like “On Message Sent” and “On Message Received,” as well as actions like “Send Message” and “Reply Message.” When you add a trigger or action step, you’ll notice they share a similar structure, with differences primarily in their input fields. You can also switch between different triggers or actions using the selector within the step.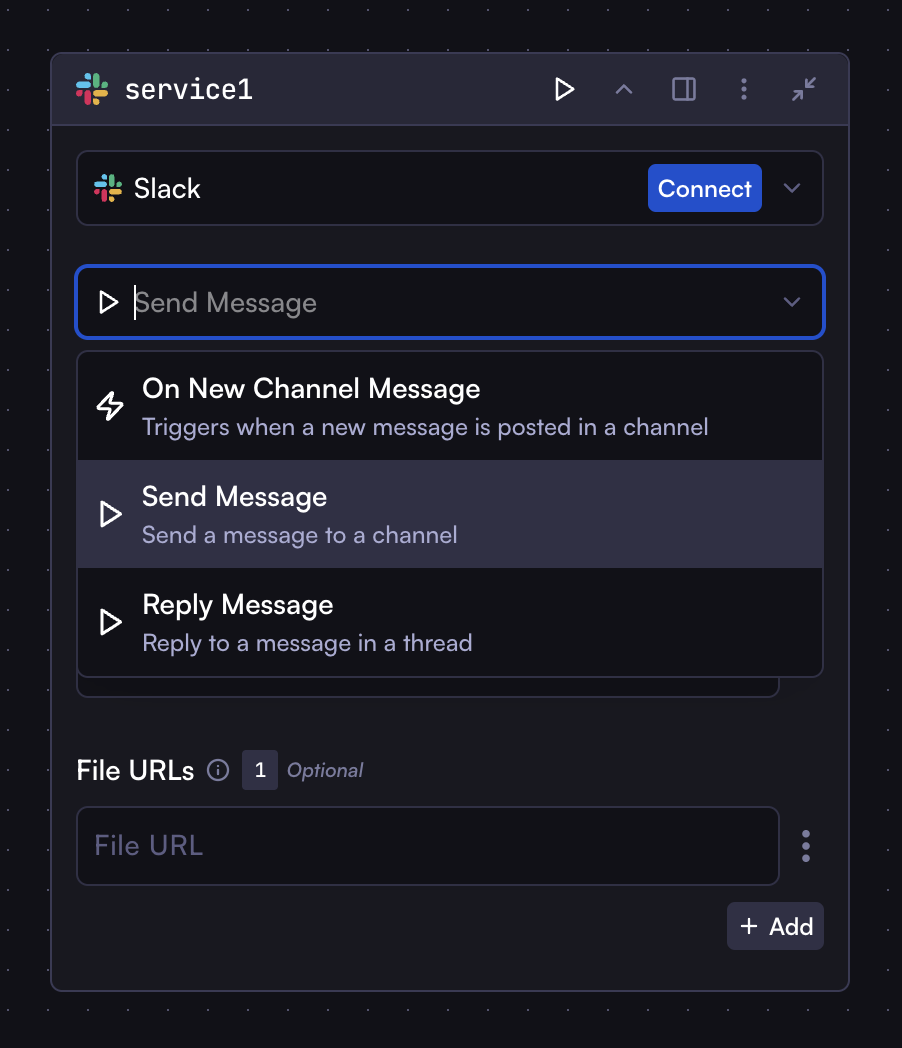
Connecting to Integrations
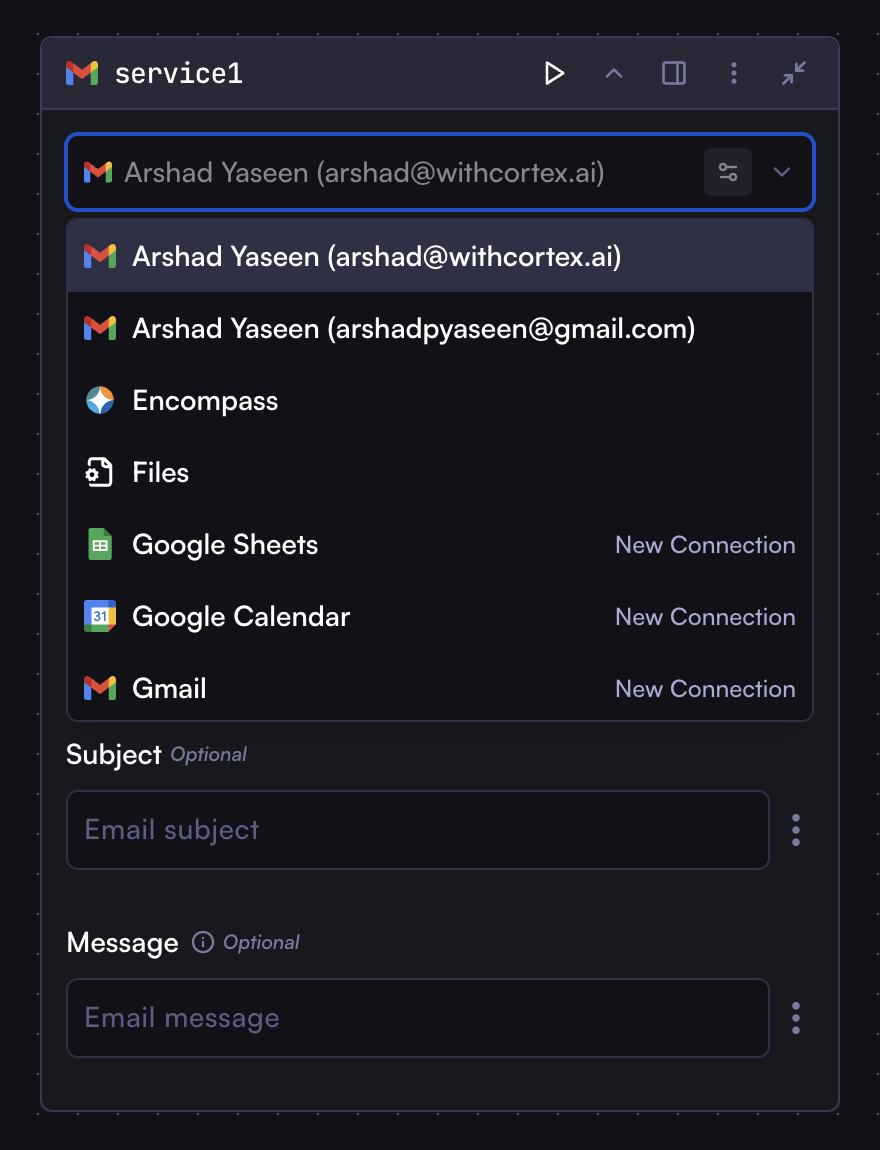
If you haven’t yet connected to an integration, you’ll see a “Connect” button within the step. Clicking this button allows you to establish a connection to the service. For instance, clicking “Connect” for Slack will prompt you to authenticate with your Slack account and give it a name. You can connect to multiple accounts within the same service (e.g., multiple email addresses) and select which one to use from the integration selector at the top of the step. All integration management—including adding, editing, and removing integrations—can be done through the Integrations page in Cortex Settings.Integration Selector
The integration selector at the top of trigger and action steps displays all your available or connected integrations. It also allows you to connect to new integrations directly without navigating to the Integrations page by clicking on services marked with “New Connection.”