Getting Started
We are going to create a workflow that will extract fields from a document. You will specify the fields to extract in natural language. As in the Introduction, you already have a blank workflow created.Setting Up Inputs
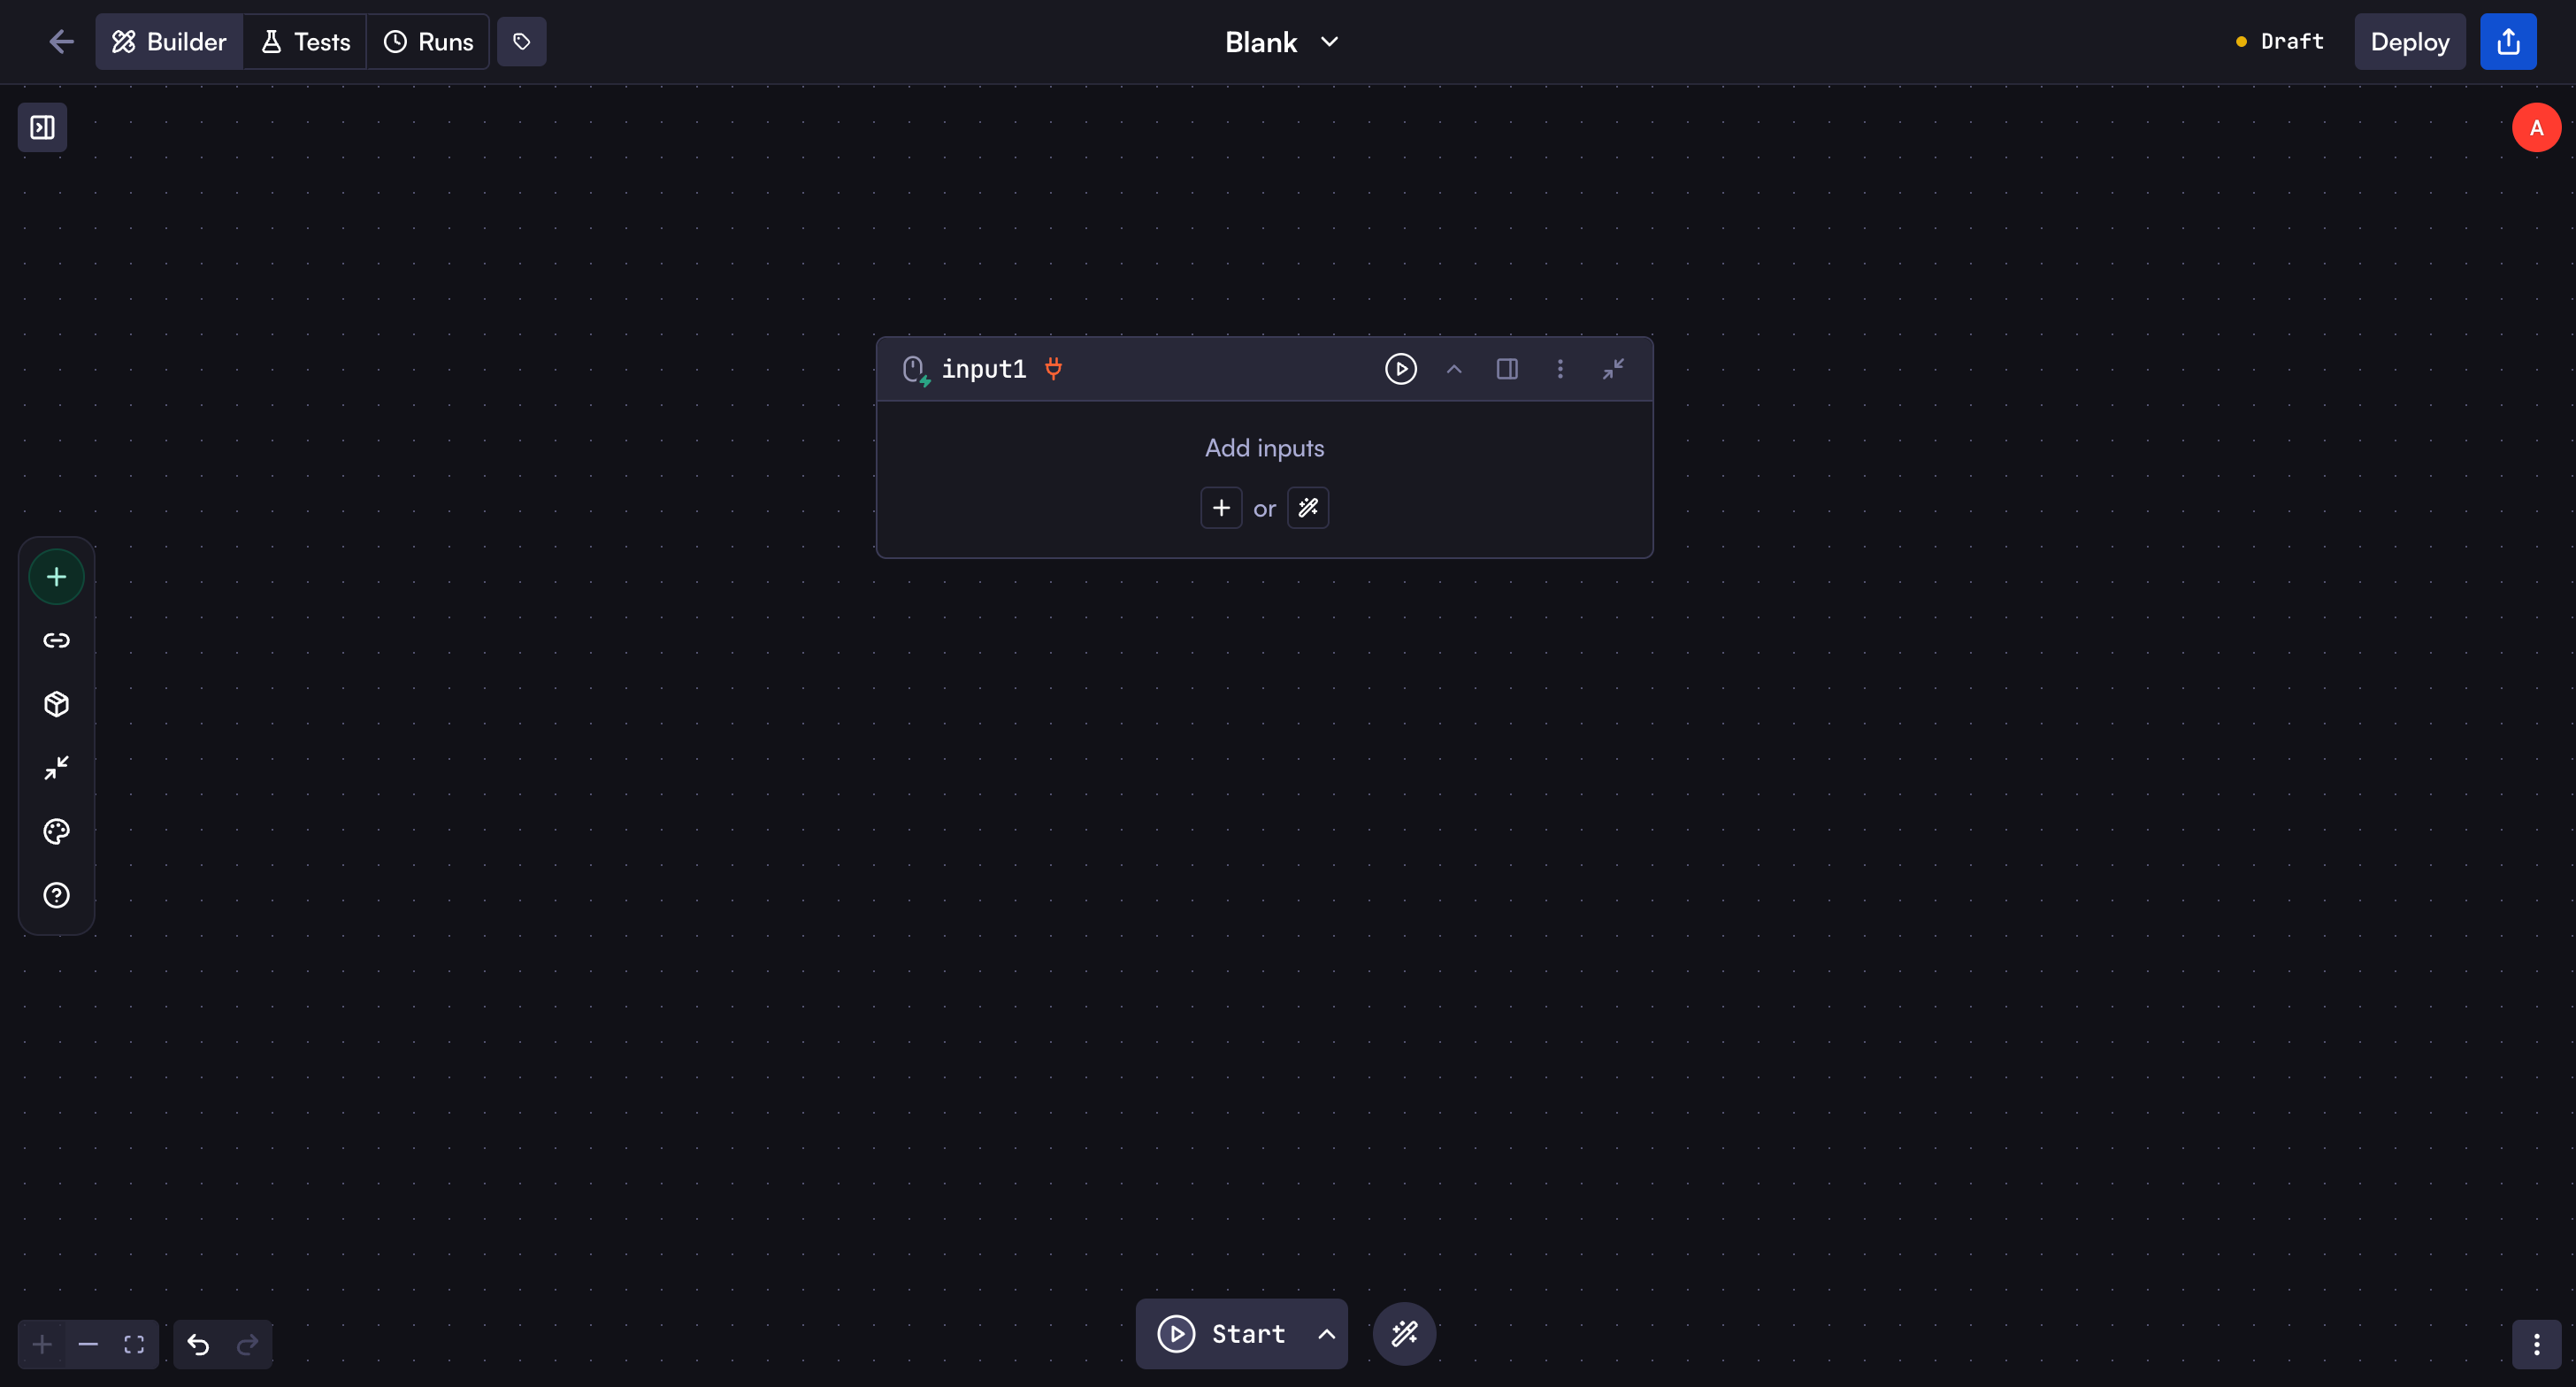
To begin, we need to provide the workflow with two things: a document and the fields to extract. This is where Input steps come in. Input steps allow you to pass data (like files, text, etc) into your workflow for processing. When you share your workflow with others, they can provide their own inputs, and the workflow will process them accordingly. The same applies when calling the workflow through APIs or SDKs - you can pass the required data as body. Let’s add an Input step to the workflow.- Click the plus (+) button on the left toolbar to add a new step to your workflow.
- Click the Manual Input step from the list of steps.
- Documents: A file input that allows users to upload documents. We will enable multiple files to be uploaded.
- Fields to extract: A text input that allows users to specify the fields to extract from the documents.
documents. We enabled multiple file uploads in the field settings and activated the Extract images option to automatically extract images from uploaded documents. These extracted images will be passed to the model step later in the workflow, which we’ll cover in the upcoming sections.
We also added a text field called Fields to extract with the key name fields_to_extract. These key names are important as they allow you to reference these fields in subsequent steps of your workflow.
Adding the Model Step
Now that we have the input step, we can add a Model step to the workflow to extract the fields from the documents. Watch the video below to learn how to create a model step, update the user prompt, and set the response format to JSON:- Click and drag the small connection circle on the top right of the input step
- Release the drag where you want to add the new step that connects to the input step
- After releasing, a modal will appear with a list of steps similar to when we added the input step
- Click on the Model step to add it to the workflow
{{form.output.fields_to_extract}}- References the text input where users specify which fields to extract{{form.output.documents:images}}- References the images extracted from the uploaded documents
stepKey.outputaccesses any step’s output (in this case, “form” is our input step’s key)- The
:imagessuffix specifically retrieves images from the documents because we enabled the Extract images option in the field settings - Similarly, a
:contentsuffix can be used to access document text when the Extract contents option is enabled
Testing Your Workflow
It’s time to test the workflow 🚀. Try uploading a document and entering the fields to extract. Then run the workflow either by clicking the workflow’s Run button or clicking the run button on the Input step since the input step is the starting step of the fields extraction workflow. You should see the workflow running and the extracted fields in the model step’s output.Usage
You can interact with your workflow directly in the canvas by running it and providing inputs. However, there are additional ways to leverage your workflow:API Usage
Learn how to integrate your workflow with applications via API and SDKs
Share
Learn how to share your workflow with others and integrate it in different
ways
Next Steps
You now have a solid understanding of workflow steps, input steps, how to connect steps together, and how to access step outputs. Now you are able to try different use cases with workflows. But there are still more details to learn about steps and their configurations.Steps
Deep dive into different step types, their configuration options, and working
with step outputs, step output formats of different step types.