Share Methods Overview
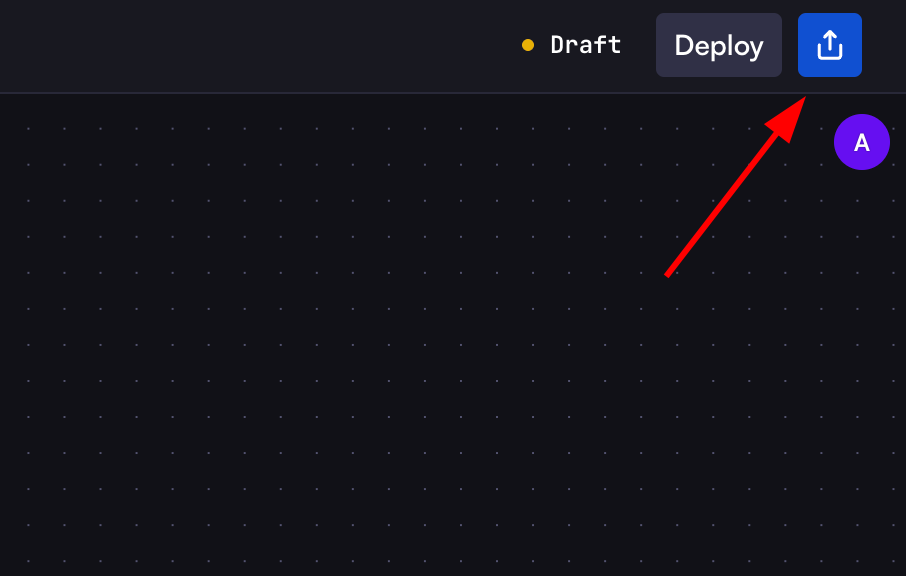
When clicking on the share button on the top right of workflow header, you’ll see several sharing options:- Share with Users - Share directly with other users
- Share with Orgs - Share with entire organizations
- MCP - Connect with Claude Desktop and other MCP clients
- API & SDKs - Integrate workflows via REST API or SDKs
- Collections - Add workflows to collections for no-code workflow management
Share with Users
This option allows you to share your workflow publicly with anyone via a link, even if they don’t have a Cortex account.- Select the “Share with Users” tab
- Click the “Generate Share Link” button
- Copy the generated URL to share with others
- View the workflow’s input form
- Fill out the required inputs
- Submit the workflow to run
The shared link will always reflect the latest version of your workflow after
each deployment, so users automatically get access to your updates without
needing a new link.
- Creating surveys or data collection forms
- Building public-facing tools or utilities
- Gathering information from external users
Currently, users with the shared link cannot see the workflow’s output. This
feature will be added in a future update.
Share with Organizations
Share your workflow with other organizations in Cortex to enable broader collaboration.- Select the “Share with Orgs” tab
- From the dropdown, select the organization you want to share with
- Click “Share”
Organizations with access will be able to run the workflow in their own
workflows and collections, but won’t be able to edit or view step sources like
prompts and code. Usage costs will be charged to the organization that
executes the workflow.
Model Context Protocol (MCP)
The Model Context Protocol (MCP) allows you to connect your Cortex workflows with various MCP-compatible clients like Claude Desktop, Cursor, and many others. For a complete list of supported applications, see the all supported apps.Generating an MCP Server
- Select the “MCP” tab
- Click the “Generate MCP Server” button
- Copy the generated server URL (format:
https://api.withcortex.ai/endpoints/{ID}/mcp)
The MCP server URL will automatically reflect the latest changes to your
workflow after each deployment, ensuring all MCP clients always use the most
recent version.
Configuring MCP Clients
Below is an example of setting up Claude Desktop with your Cortex workflow. Other MCP clients may have different configuration methods - refer to their respective documentation for setup instructions. To use your Cortex workflow in Claude Desktop:- Install the latest version of Claude Desktop from claude.ai/download
- Open or create the Claude Desktop configuration file:
- MacOS/Linux:
~/Library/Application Support/Claude/claude_desktop_config.json - Windows:
%AppData%\Claude\claude_desktop_config.json
- MacOS/Linux:
- Add your Cortex MCP server configuration:
ReplaceGENERATED_MCP_SERVER_URLwith the actual MCP server URL you copied in step 3 (the URL that looks likehttps://api.withcortex.ai/endpoints/{ID}/mcp).
- Save the file and restart Claude Desktop
- Verify the connection by looking for the hammer icon in Claude Desktop
- Your Cortex workflow is now available in Claude Desktop
API & SDKs
The API option allows you to integrate your Cortex workflows into external applications or services.API Usage
Learn how to integrate your workflow with applications via API and SDKs
Collections
Collections provide a structured way to store, classify, and manage workflow-related data securely. They serve as the visual interface for non-technical users to interact with workflows, records, and automation without writing code.- Select the “Collections” tab
- To add this workflow to a collection, click “Go to Collections”
- In the Collections Rules page, add a rule selecting this workflow
Collections
Learn how to create and manage collections in Cortex